Customize your Offerdox Applicant Tracking System
HR Admin
Please see the ‘Quick Setup’ user guide to configure your initial Offerdox account. Now you are ready to start creating manager accounts and to start posting jobs.
Introduction
Click the top-left hamburger icon 🍔 to view the main menu
Use the Manager menu to post jobs & view candidates’ job applications, and screen candidates
Use the HR menu to manage users and view all company candidates
Manage compensation and offer letters on the Compensation menu
Manage branding and communications on the Communications menu
Manage application forms, job & email templates, and properties on the Human Resources menu
Post Jobs
Select Jobs from the main menu
Click Create Job Button
Select a job template
Click POST action button
If you don’t see the Job Template you need see Create Job Template (above)
View Jobs
Select Jobs from the main menu
Enter the job code, title, or property name in the “Search Jobs” field
Click Mine, Team, or Company to expand search
Click Buckets or List to search within buckets or across all buckets
Click on the job, or on any of the candidate count buttons to view those candidates
Click Create Job (bottom right) to create and post a new job
View Candidates
Enter candidate name or email address in the “Search job candidates” field
Click Buckets, or List to expand search across all buckets
Click Mine, Team, or Company to view only your candidates, your team’s, or all
Select a candidate to view their resume and application answers
Screen Candidates
Click the bottom tabs to view contact details, resume, and candidate answers to application form questions.
Click the Decline, Screen, etc action buttons to action the candidate
Click Screen to forward or communicate with the candidate
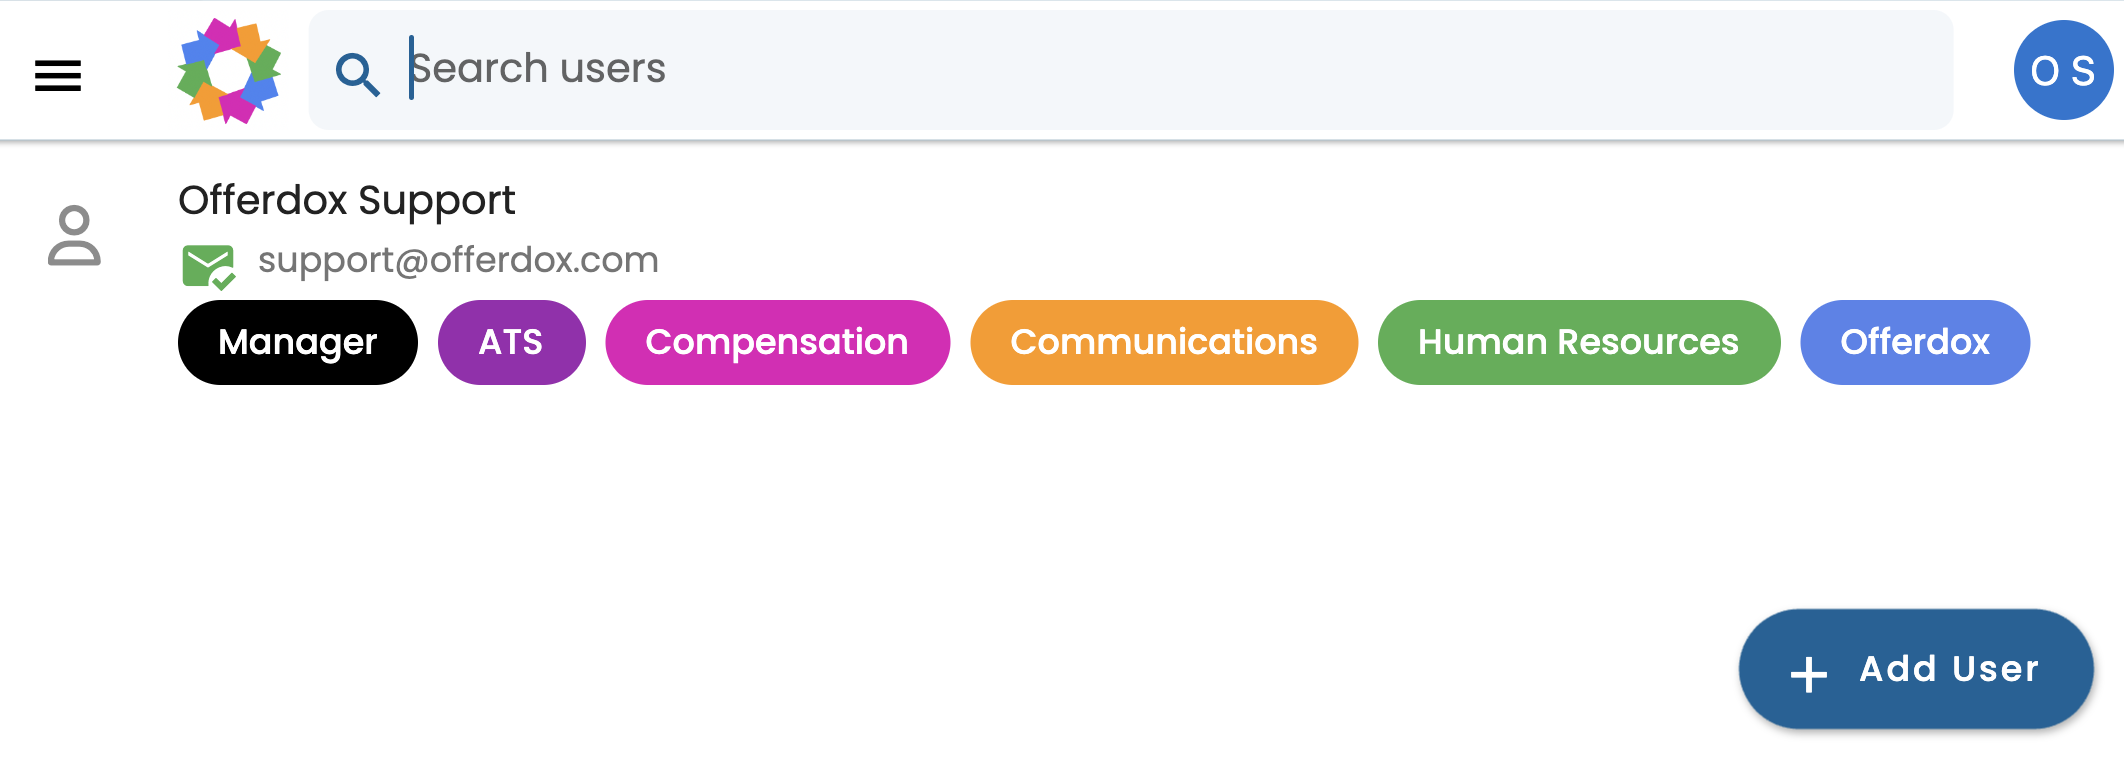
Manage Users
Select Users option from the main menu
Click Add User button
Application Forms
Select Application Form option from the Human Resources menu
Select an application form (or add a new one)
Click each of the Biographical, Application, Self-ID, etc bottom tab
On each tab, click + Select data fields (aka questions) to add data fields to the application form
Note that you can also set job-specific application form questions when you create and post a job
On the first tab, check the Default Application box if you want this to be defaulted on all jobs
Job Templates
Select Job Templates option from the Human Resources menu
Select a job template (or add a new one)
Set the Compensation Plan (eg Salary, Hourly, etc)
Set the Application Form (or leave it blank to use the default)
Click JD Editor to enter the job description text
Email Templates
Select Email Templates option from the Human Resources menu
Select an email template (or add a new one)
Click the Email Settings bottom tab
Enter the template email text
Email Subject & Body
Select Email Templates option from the Human Resources menu
Select an email template (or add a new one)
Enter your email subject and body text
Type {{ to display a list of data fields (eg type {{com to list all the data fields starting with “com”)
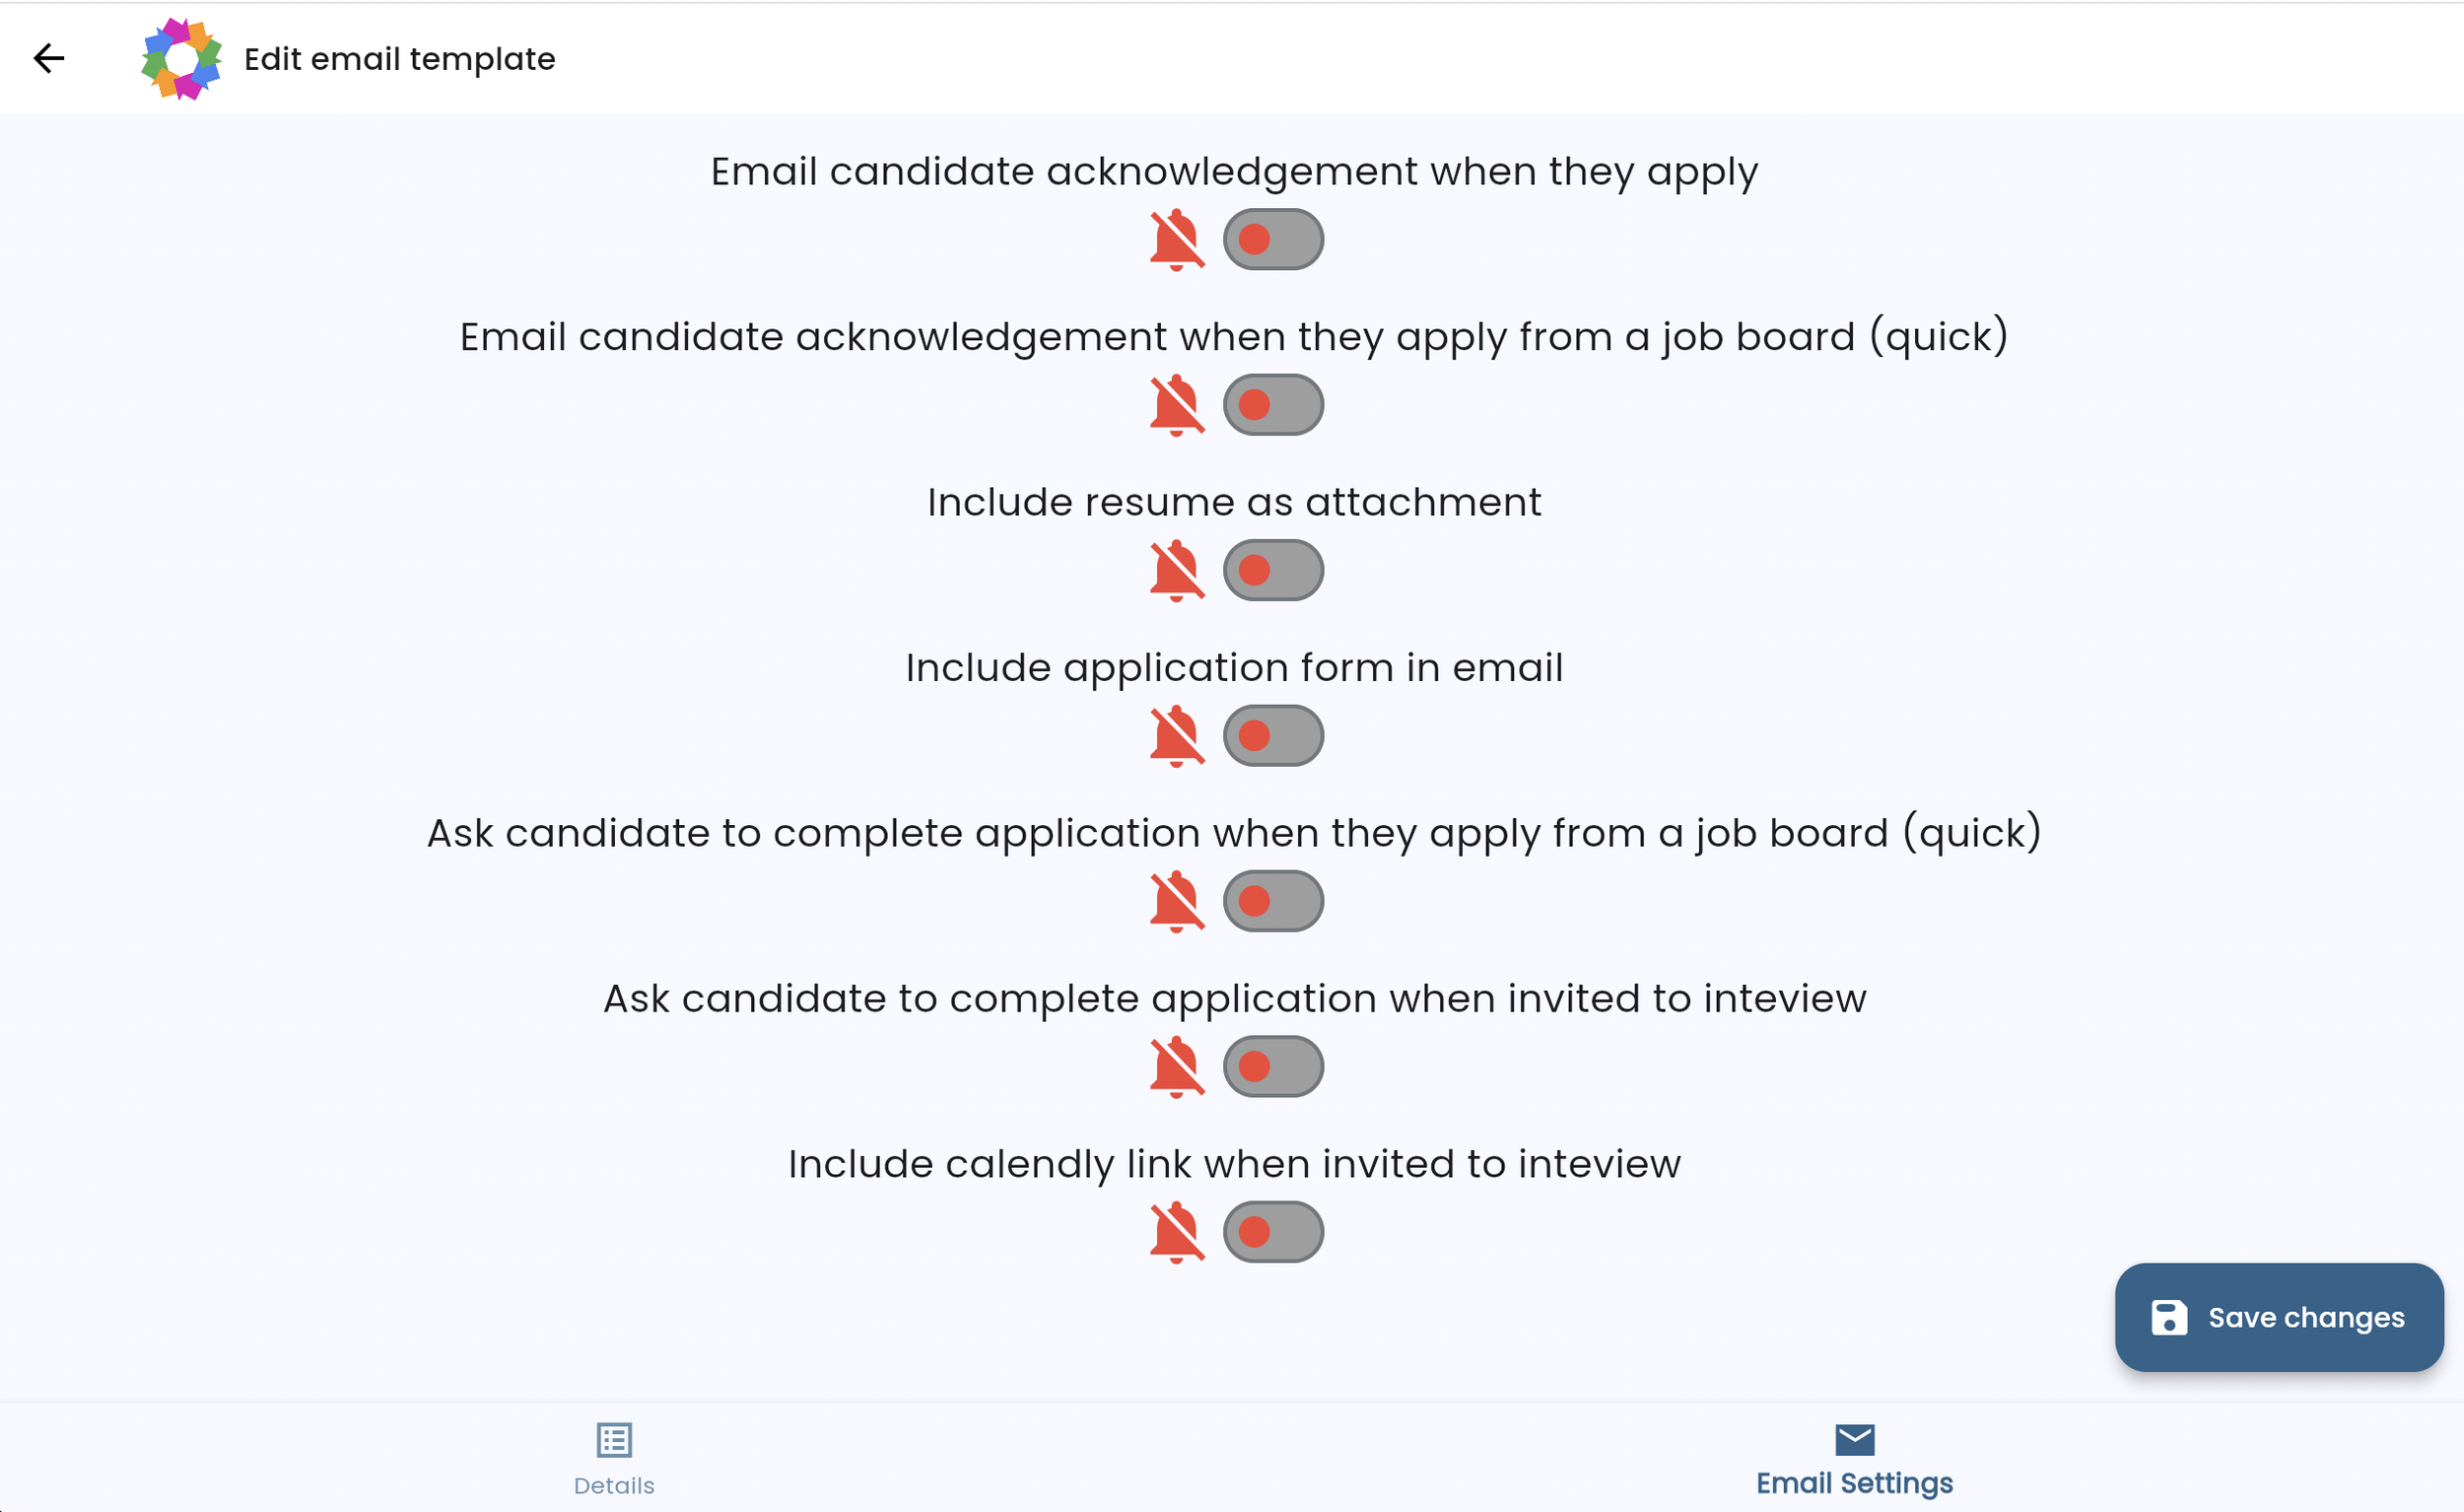
Email Settings
Select Email Templates option from the Human Resources menu
Select an email template (or add a new one)
Click the Email Settings bottom tab
Set the candidate acknowledgement selections for quick apply & completed applications
Indicate which content you’d like included or attached to emails including (resume, application form, Application form, Application form URL, Calendly URL)


