Customize your Offerdox Applicant Tracking System
Quick Setup
This brief HR user guide lists the simple steps for creating user accounts and basic job, compensation, and offer letter templates so that you and your managers can quickly start advertising your jobs. Once you are up and running you can come back and start refining and expanding your templates, brands, properties, and interactive offer employment branding content.
Introduction
Click the top-left hamburger icon 🍔 to view the main menu
Copy & edit the basic Salary & Hourly comp plans
Create Application Forms
Create job templates based on these comp plans and application forms.
Add brands, if you have multiple
Add properties, if you have multiple
Add users, and have them start posting jobs
Compensation Plans
Select the Compensation Plan menu
Click the 3-dot menu options to copy plan
Edit the Comp Plan copy
See “Create Data Fields” (later)
You can select one of the two default compensation plans to start your setup and get going. If and when you want to implement online offers you can flesh out these and create new plans (see below).
Application Forms
Select the Application Forms menu
Create one or more application forms
Click “Select Data Fields” on each bottom tab
Note that you can select from existing data fields (aka questions, in this case) or create new data fields on the fly.
We recommend you use existing data fields where possible. This saves candidates (and yourselves) time.
Create Job Templates
Select the Job Template main menu
Create a new template or click the 3 dot menu next to existing templates to copy it
Select a Compensation Plan
Select an Application Form (or leave blank to use the default application form)
Click JD Editor to copy/paste or edit the job description
Click JD Preview to preview the job on the career site
Add Brand(s)
Create one or more brands
Add your brand logo
If you are using online offer letters, add your interactive offer welcome and email content
Use Candidate App Tab to add additional marketing content (eg ‘Why work here', ‘Benefits,’ etc) content.
Add Properties
Select the property brand (created per above)
Provide property contact details.
If your Offerdox system is set up to integrate with 3rd party (eg Background Check & onboarding) systems, you can set up your property credentials using the Integrations tab.
Set up any additional property-specific marketing content using Candidate App Tabs.

You are now ready to post jobs and create manager accounts.
RRRip it!
Post Jobs
You are now ready to start posting jobs and creating user accounts!
Select Jobs from the main menu
Click Create Job Button
Select a job template
Click POST action button
If you don’t see the Job Template you need see Create Job Template (above)
Create User Accounts
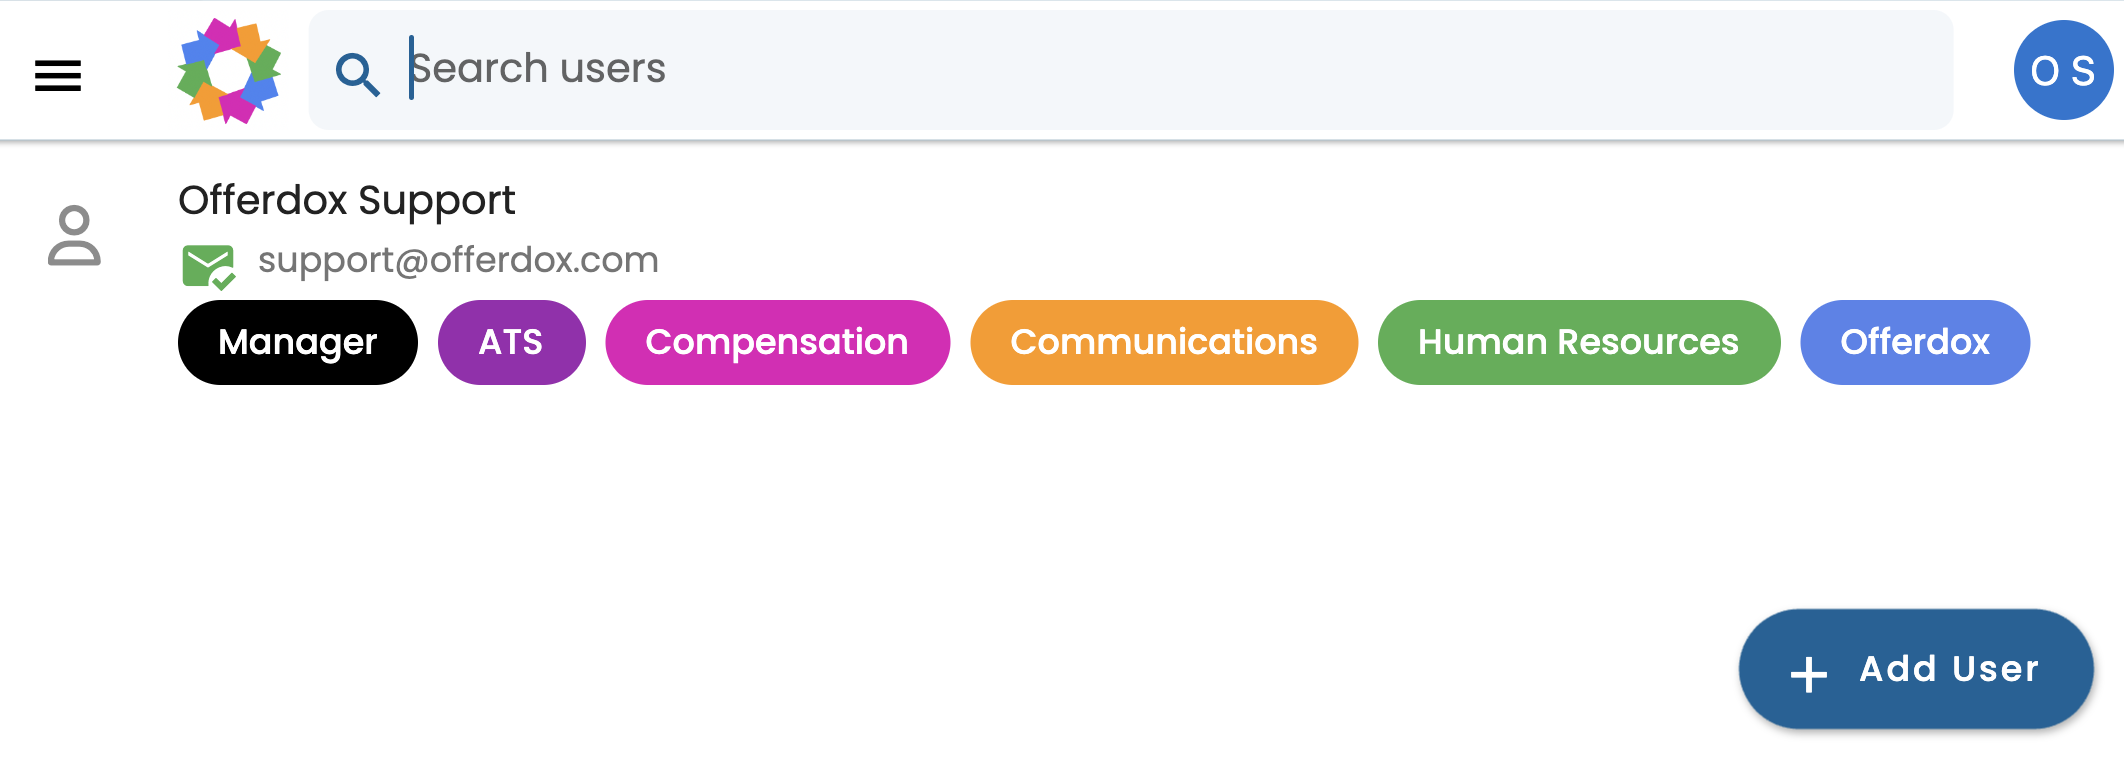
Select Users option from the main menu
Click Add User button


